E & E custom Boutique
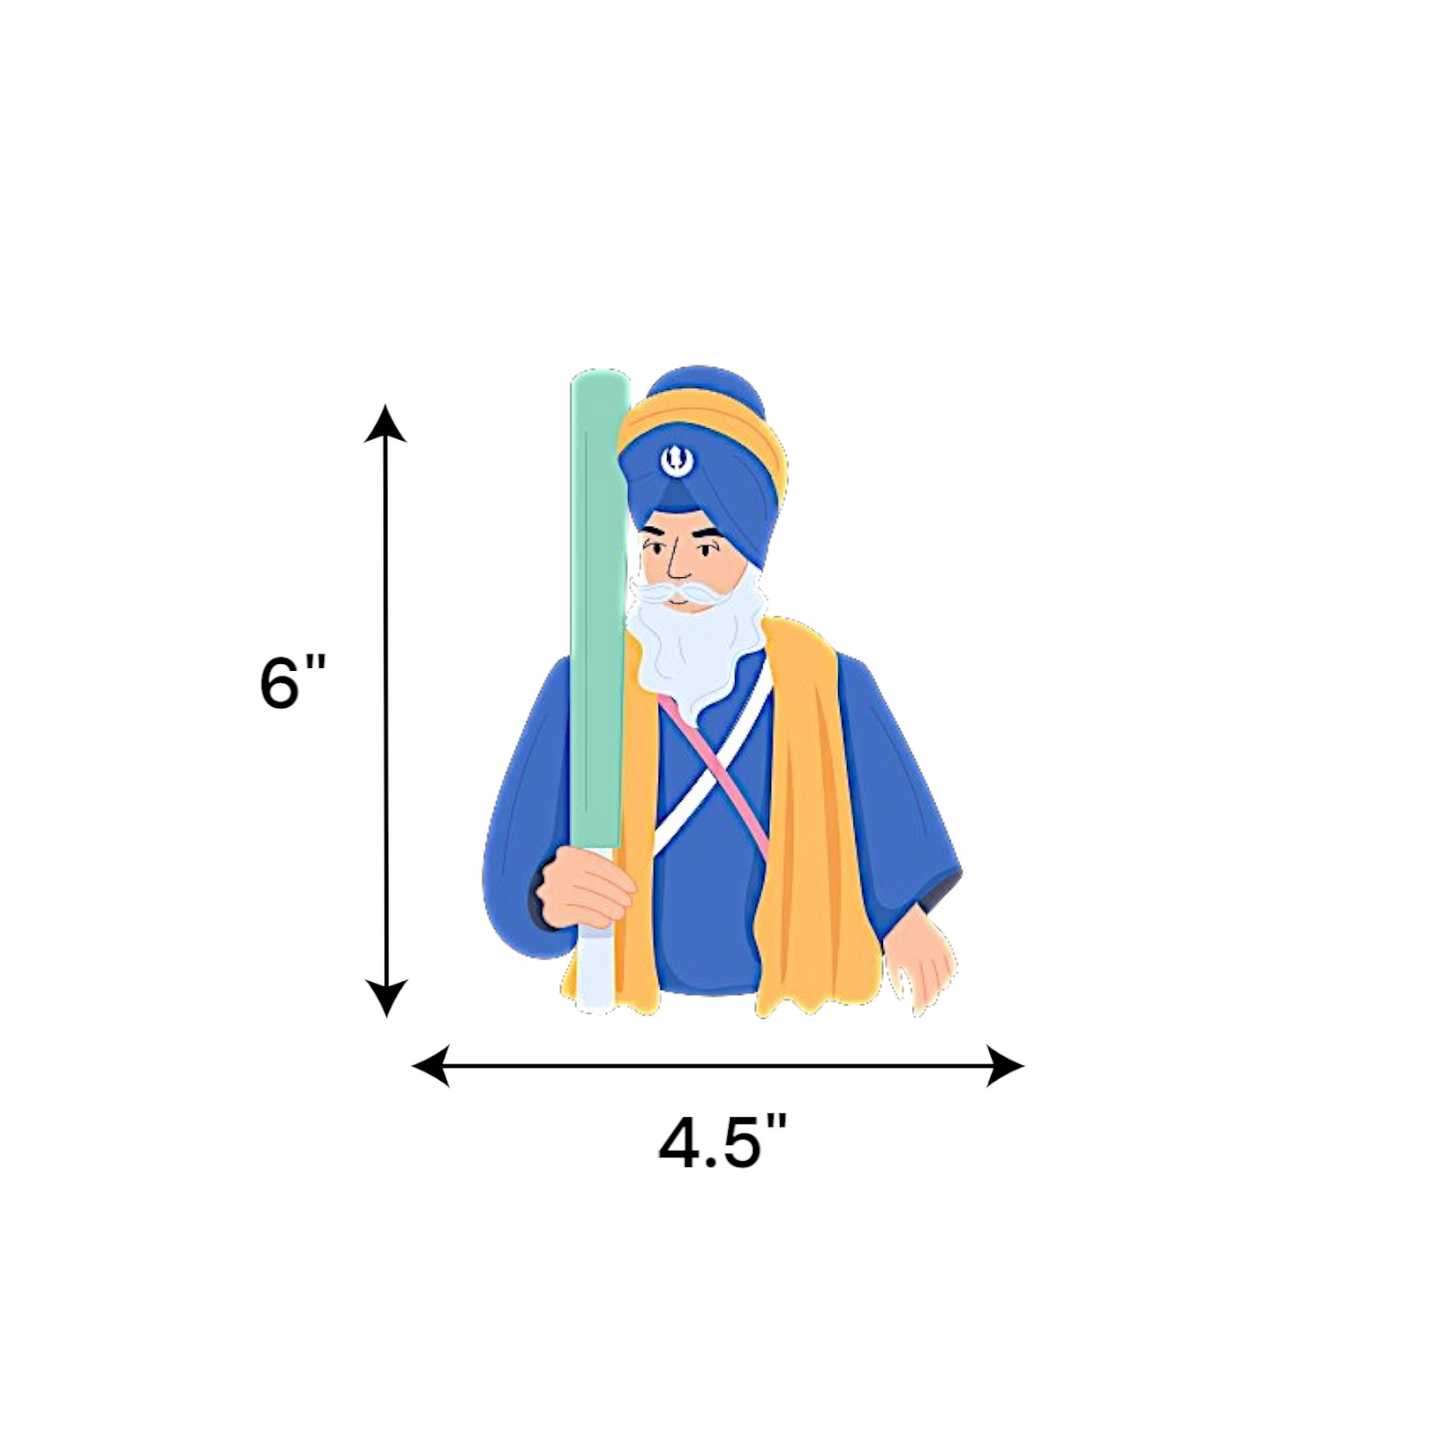
Baba Deep Singh Ji Colored Sticker – 6” Car Decal
Baba Deep Singh Ji Colored Sticker – 6” Car Decal
Couldn't load pickup availability
Honor the legacy of courage and faith with this vibrant 6-inch colored car decal of Baba Deep Singh Ji. Designed with reverence and detail, this high-quality vinyl sticker showcases the revered Sikh warrior-saint in vivid color, making it a powerful emblem of devotion and strength.
Perfect for cars, laptops, windows, or any smooth surface, the decal is weatherproof, fade-resistant, and easy to apply. Let Baba Deep Singh Ji’s spirit ride with you wherever you go.
Product Features: UV DTF Transfers
🔒 Unmatched Adhesive Performance
Our UV DTF Transfers set the gold standard in stickability. Designed to bond firmly to a variety of surfaces—laptops, water bottles, car windows, and more—these transfers stay put and look fantastic.
🛡️ Extraordinary Durability
Crafted with cutting-edge UV DTF technology and superior adhesive quality, these transfers are built to last. They resist peeling, cracking, and fading for long-term, reliable use.
🌈 Vivid, Long-Lasting Color
Experience eye-catching color that won’t quit. Our transfers remain bright and bold even under harsh sunlight and extreme weather conditions.
UV DTF Transfer Application Instructions
Step 1: Prepare Your Surface & Pre-Squeegee the Transfer
-
Clean the Surface:
Thoroughly clean the application area with either soap and water or a 50/50 mixture of rubbing alcohol and water. A clean surface ensures better adhesion and long-lasting results. -
Pre-Squeegee the Transfer:
After cutting out your design, lay it face down (white side up). Using a squeegee or credit card, apply firm pressure and rub back and forth 3–5 times to press the design firmly onto the clear carrier sheet.
Step 2: Remove the White Backing
-
Start with a Small Tear:
Gently tear a corner to separate the clear carrier sheet from the white backing. Continue slowly peeling the white backing away from the design. -
Go Slowly:
If any part of the design stays stuck to the backing, place it back down, squeegee again, and try peeling from a different angle.
Tip: The more intricate or delicate the design (like small text), the slower and more carefully you should peel.
Step 3: Apply the Transfer to Your Item
-
Positioning:
Choose your desired placement area on the item. Start by aligning the design from one side to the other to control placement and reduce bubbles or wrinkles. -
Helpful Tip:
Leave one edge of the carrier sheet slightly lifted to make it easier to handle during application.
Step 4: Final Application
-
Apply Pressure:
Use the padded side of your squeegee and press firmly over the entire design at least 3 times to ensure strong adhesion. -
Peel the Carrier Sheet Slowly:
Carefully peel back the clear sheet, ensuring the design transfers completely.
If parts don’t transfer, lay it back down, re-squeegee, and try again from another angle.
✅ Additional Tips
-
Avoid squeezing over the edge of the design to maintain control.
-
Hold the carrier sheet inward as you peel to reduce risk of shifting.
-
The cleaner and flatter your surface, the better your result.
Share